anzeigen
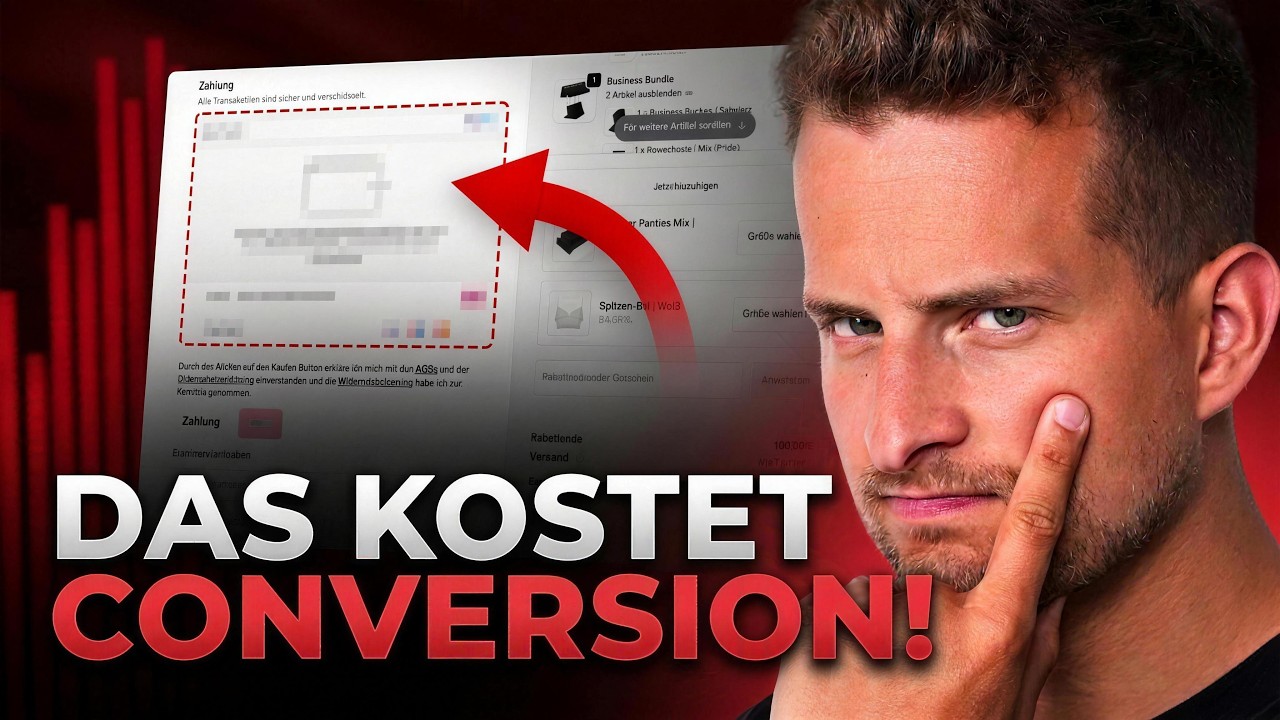
A standard checkout versus an optimized checkout. I have to say, the very basic, standard Shopify checkout has such a bad reputation. However, Shopify does this quite deliberately. They constantly test different things against each other worldwide with all the Shopping Free stores around the globe . To explain more about this to you , I've brought together the best Shopify experts in all of Germany here today. Even if our Shopify DS can't get us anywhere, give him a call, namely the lovely Calvin. He will now explain what exactly can be optimized in a Shopify checkout. Thank you for the intro, Johannes. The Shopify checkout in your online store is among the most important things. Your customer has seen the product, is interested, puts it in the shopping cart and has now arrived at the checkout. The goal of the checkout process is very clear: it must be as simple as possible. Specifically, this means not distracting your customer so that he does what he is supposed to do, which is to click the "buy now" button . And that's exactly why we're now going to do a deep dive and take a closer look at the whole thing. Here's an example of the current state-of-the-art checkout, as it looks by default in every Shopify shop. Using Shopify Supply as an example, this is what you can expect when you set up a checkout. This is the one-page checkout, and that's also the first tip I want to give you, because there is a one-page checkout and there is a three-page checkout. Until a year ago, it was standard for every checkout process at Shopify to have three steps . This included contact information, shipping information, and payment details. Shopify has now optimized the whole thing, and it looks like this. Everything on one page and much, much clearer than before. Specifically, if you are still using the three-page checkout, please switch to the one-page checkout. This is the experience your customer is already used to from many, many other shops. One more thing I'd like to mention is that there are standard checkouts in Shopify. However, there are also many who try using other tools and building custom checkouts. These custom checkouts pose various dangers and risks. The upside may outweigh the downside, but for many, many who try it, it makes no sense. Tracking problems. You have to take care of it yourself. This is a third-party app, so you don't know how it works. Especially regarding load, because Shopify is cloud-based, and because we want to ensure that our checkout always works, my advice to you is to always work with the standard Shopify checkout. Unless you have a really, really good expert on hand who knows a lot about it and you have maximum confidence in the solution you want to use. Otherwise, please select the standard Shopify checkout with the one-page layout. We now have various components that make up your checkout and what the optimal checkout looks like. I'll go through the whole process step by step here. We'll start with the Express Payment Methods. This has been shown in concrete terms. Let's look at this using the example of SNOX, where SNOX has activated both Shopay and PayPal. In the example of Shopify Supply, we see that both ShopPay and Google Pay are available. Here is the specific recommendation that you look at the Shopify Billing Summary in your Shopify dashboard under Analytics and Reports, then you can see exactly which payment method is used and how frequently . Then you'll know for sure whether Google Pay is used only 1% of the time, but PayPal 50%. Then you would know that Google Pay makes no sense here in Express Checkout, and that PayPal should be discontinued instead . Next tip: Payment methods. Payment methods are extremely important because they determine whether your customer trusts you, whether your customer finds the payment method they want, and whether your customer ultimately places an order. A concrete example: Your customer absolutely wants to pay with PayPal because PayPal offers buyer protection. The fact that you don't offer that is a problem. Especially in Germany, this means you absolutely must use PayPal, you absolutely must use Kaner. Now Pay Later is becoming increasingly prevalent, and especially in areas like fashion, it's absolutely essential that you rely on it . Another important point to mention is that there is the option to use either Shopify Payments or alternative payment methods, such as Molly. Molly is another provider that you can also integrate into Shopify . The problem is that the usability is simply a bit different because you don't have to enter it directly in the Shopify checkout, but rather on a separate page after the buy button . It's also important to mention that features like Post Purchase Upsells only work with Shopify Payments. When collecting addresses, i.e., entering addresses, it is important to ensure that the address entered by your customer is correct. Many, many people forget the house number or cause other problems. You can solve all of this with the Address Hero app. Snox, for example, does this during checkout to ensure that everything entered is correct . Shipping methods are also extremely important for your checkout process . In other words, how can your customer order and how do you inform your customer? Specifically, this means: do you ship with DHL, do you ship with UPS, what options do you offer? and to communicate that specifically to your customer. SNOX solves this, for example, via the information "Shipping with DHL" or "Shipping with DHL Express". That means I know exactly what will be used for shipping. I also know that I have the option to use DHL Express . What I would perhaps add here is delivery information. Does that mean how long will it take until I actually receive my package ? Shipping with DHL takes 2 to 3 days, and this is how you inform your customer about the carrier, what they can expect, and how quickly their package will arrive. The checkout settings are also extremely important. Let's take a closer look at those now under Settings. Then click on Checkout and here we see the Checkout Profile. We can edit that. Here we can see the entire layout of the checkout, what it all looks like. It's extremely important that you use a logo. You can add the logo via your settings here, and please be sure to use a logo here. And a great option you have is your brand accent color. For example , if we had a pink brand , our accent color would be pink. Plus, we would also make our buttons in the same pink accent color. Specifically, this means the goal must be to highlight our CTAs with color so that they are prominently displayed for our customers. Therefore, we don't need to adjust anything else in the settings for now. We click on save and go back to the general settings, where we see many, many options. Here too, it's important that we focus on simplicity for our customers. In terms of settings, I would configure it so that we contact the customer via email. I would leave the company name optional . We do not want to include Company Wetnumber . We want Address Line 2 to be optional and do not want an extra Shipping Address Phone. We want to have both the first and last name. Marketing opt-in is of course super exciting, especially when we have to confirm it again. Here, for example, you can activate the option to confirm everything once during checkout for your marketing measures . In my case, I'll leave that out for now . Super, super important. I know many try it, and many fail. Is there tipping at checkout? That means I would definitely advise against tipping at checkout unless you 're a charity and can really rely on it. I wouldn't send these checkout emails; instead, I'd implement the whole thing via Clayview. Here we see the Post Purchase Page. This means you have the option to add upsells during checkout after purchase . I would recommend Post Purchase Upsell Hero to you. Otherwise, we see the Checkout Language. That fits in that respect. We are viewing the Address Collection. Here I would allow the shipping address to be different from the billing address. Plus, I would validate the address . This applies to the basic settings in the checkout. I would definitely recommend not forcing a customer to be logged in . This can quickly lead to frustration for the customer. Plus, if we go back into the settings, we can see the checkout layout, which is still relatively hidden down here. As we discussed earlier, "one page" means "one page," not "three page." Plus, let's look at the address completion again; we'll simply use Shopify as the basis. These are the checkout settings. The Trust Blocks are also super, super exciting . Trust Blocks: What are Trust Blocks? Here's an example. This varies depending on the merchant. Snoks illustrates this relatively simply . These Trust Elements allow you to specifically address your customers' purchase objections. Is that the size? Is this a return? Is this the general shipping method? The product quality, the rating, any form of guarantee – what exactly are the biggest purchase objections of your customers that you can address very effectively here, and very prominently, because every customer will see it? That was the summary of how and why. You can focus on your checkout and what the individual components are that can truly transform your checkout from a normal Shopify checkout into an optimized conversion checkout. These are my recommendations, which you should follow. If you have any questions, feel free to write them in the comments, and then back to Johannes. Okay, thank you very much, Calvin. So, if you're keen to learn even more from Calvin , then definitely check out his YouTube channel. I myself watch the videos there again and again. What he's doing is very, very exciting . And if you're up for it, a small advertisement here. Our Shopify apps, which I invested in because they're so awesome and have helped so much as Nox. If you're interested, check out the various apps that help optimize your Shopify checkout. Otherwise, see you next week.